Getting Started with Meshtastic: Off-Grid Comms for the Rest of Us
So you've heard about Meshtastic and you're wondering what the hype is about. Short version: cheap LoRa radios that form a mesh network. No cell towers, no internet, no monthly bill. Just radio waves bouncing between nodes. Think walkie-talkies, but text-based, encrypted, and with way better range.
I got into this because NEPA doesn't exactly have the most robust infrastructure. Ice storms, power outages, dead zones -- pick your adventure. Meshtastic gives us a communication backbone that doesn't care if Comcast is having a bad day.
This post covers the basics: what hardware to buy, how to flash it, how to join the mesh, and how to get your node on map.nepamesh.com so the rest of us can see you out there.
What Even Is This?
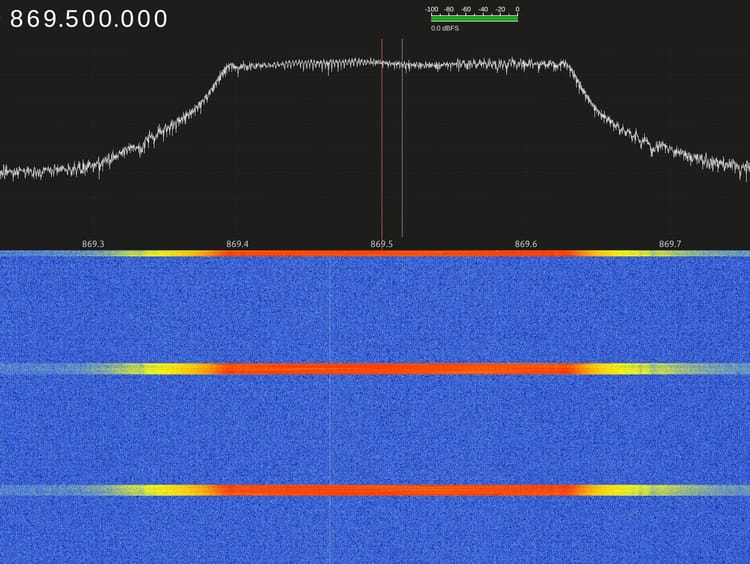
Meshtastic is open-source firmware that turns inexpensive LoRa radio modules into mesh networking nodes. Each node can send and receive text messages, share GPS positions, and relay traffic for other nodes. No license required (unlike ham radio). The radios operate on the 915 MHz ISM band in the US.
Every node in range automatically relays messages, so the more nodes on the network, the better the coverage. Messages hop up to 3 times by default, which means your message can travel well beyond your direct radio range. The record stands at 206 miles. Not bad for a $25 radio.
Hardware: What to Buy
There's a pile of supported hardware out there. Here are the ones worth looking at, especially if you're just getting started.
For reference, I'm currently running a RAK WisBlock Starter Kit, a Heltec V3, and a T-Deck. All three have been solid. If you're looking for a personal recommendation, any of those will get you on the mesh without drama.
LILYGO T-Beam Supreme (~$43)

ESP32-S3 based. Has GPS, WiFi, Bluetooth, and takes an 18650 battery. Solid all-rounder. Might need to solder the antenna connector depending on the version. You'll want a case for it.
Heltec LoRa32 V3 (~$20-25)
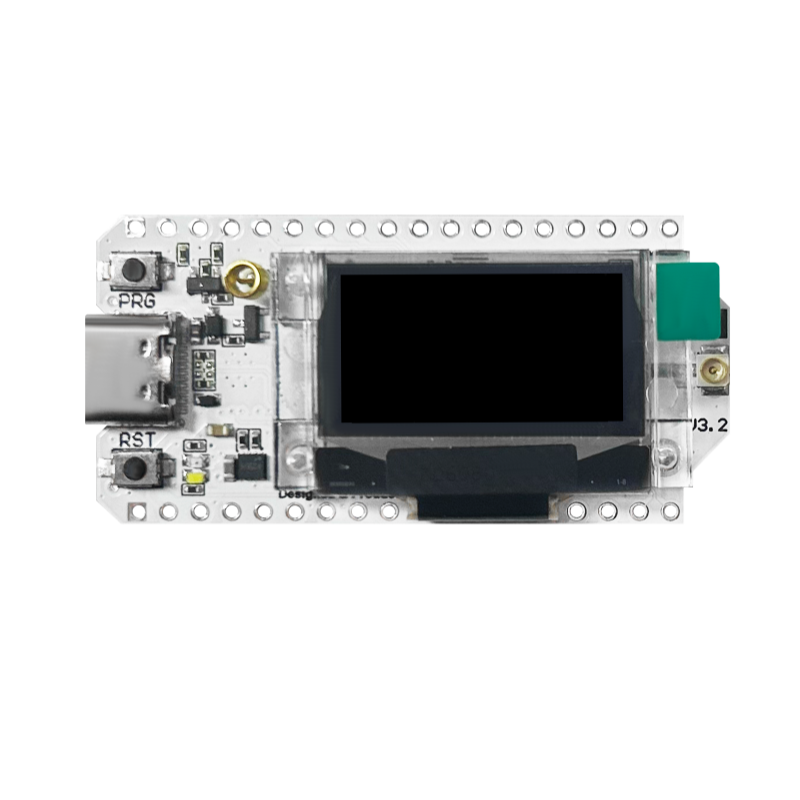
ESP32-S3, SX1262 radio, built-in OLED display. Compact and cheap. Great starter node. Often ships with a case. No GPS built-in, but you can pair it with your phone for location.
RAK WisBlock Starter Kit (~$25-37)
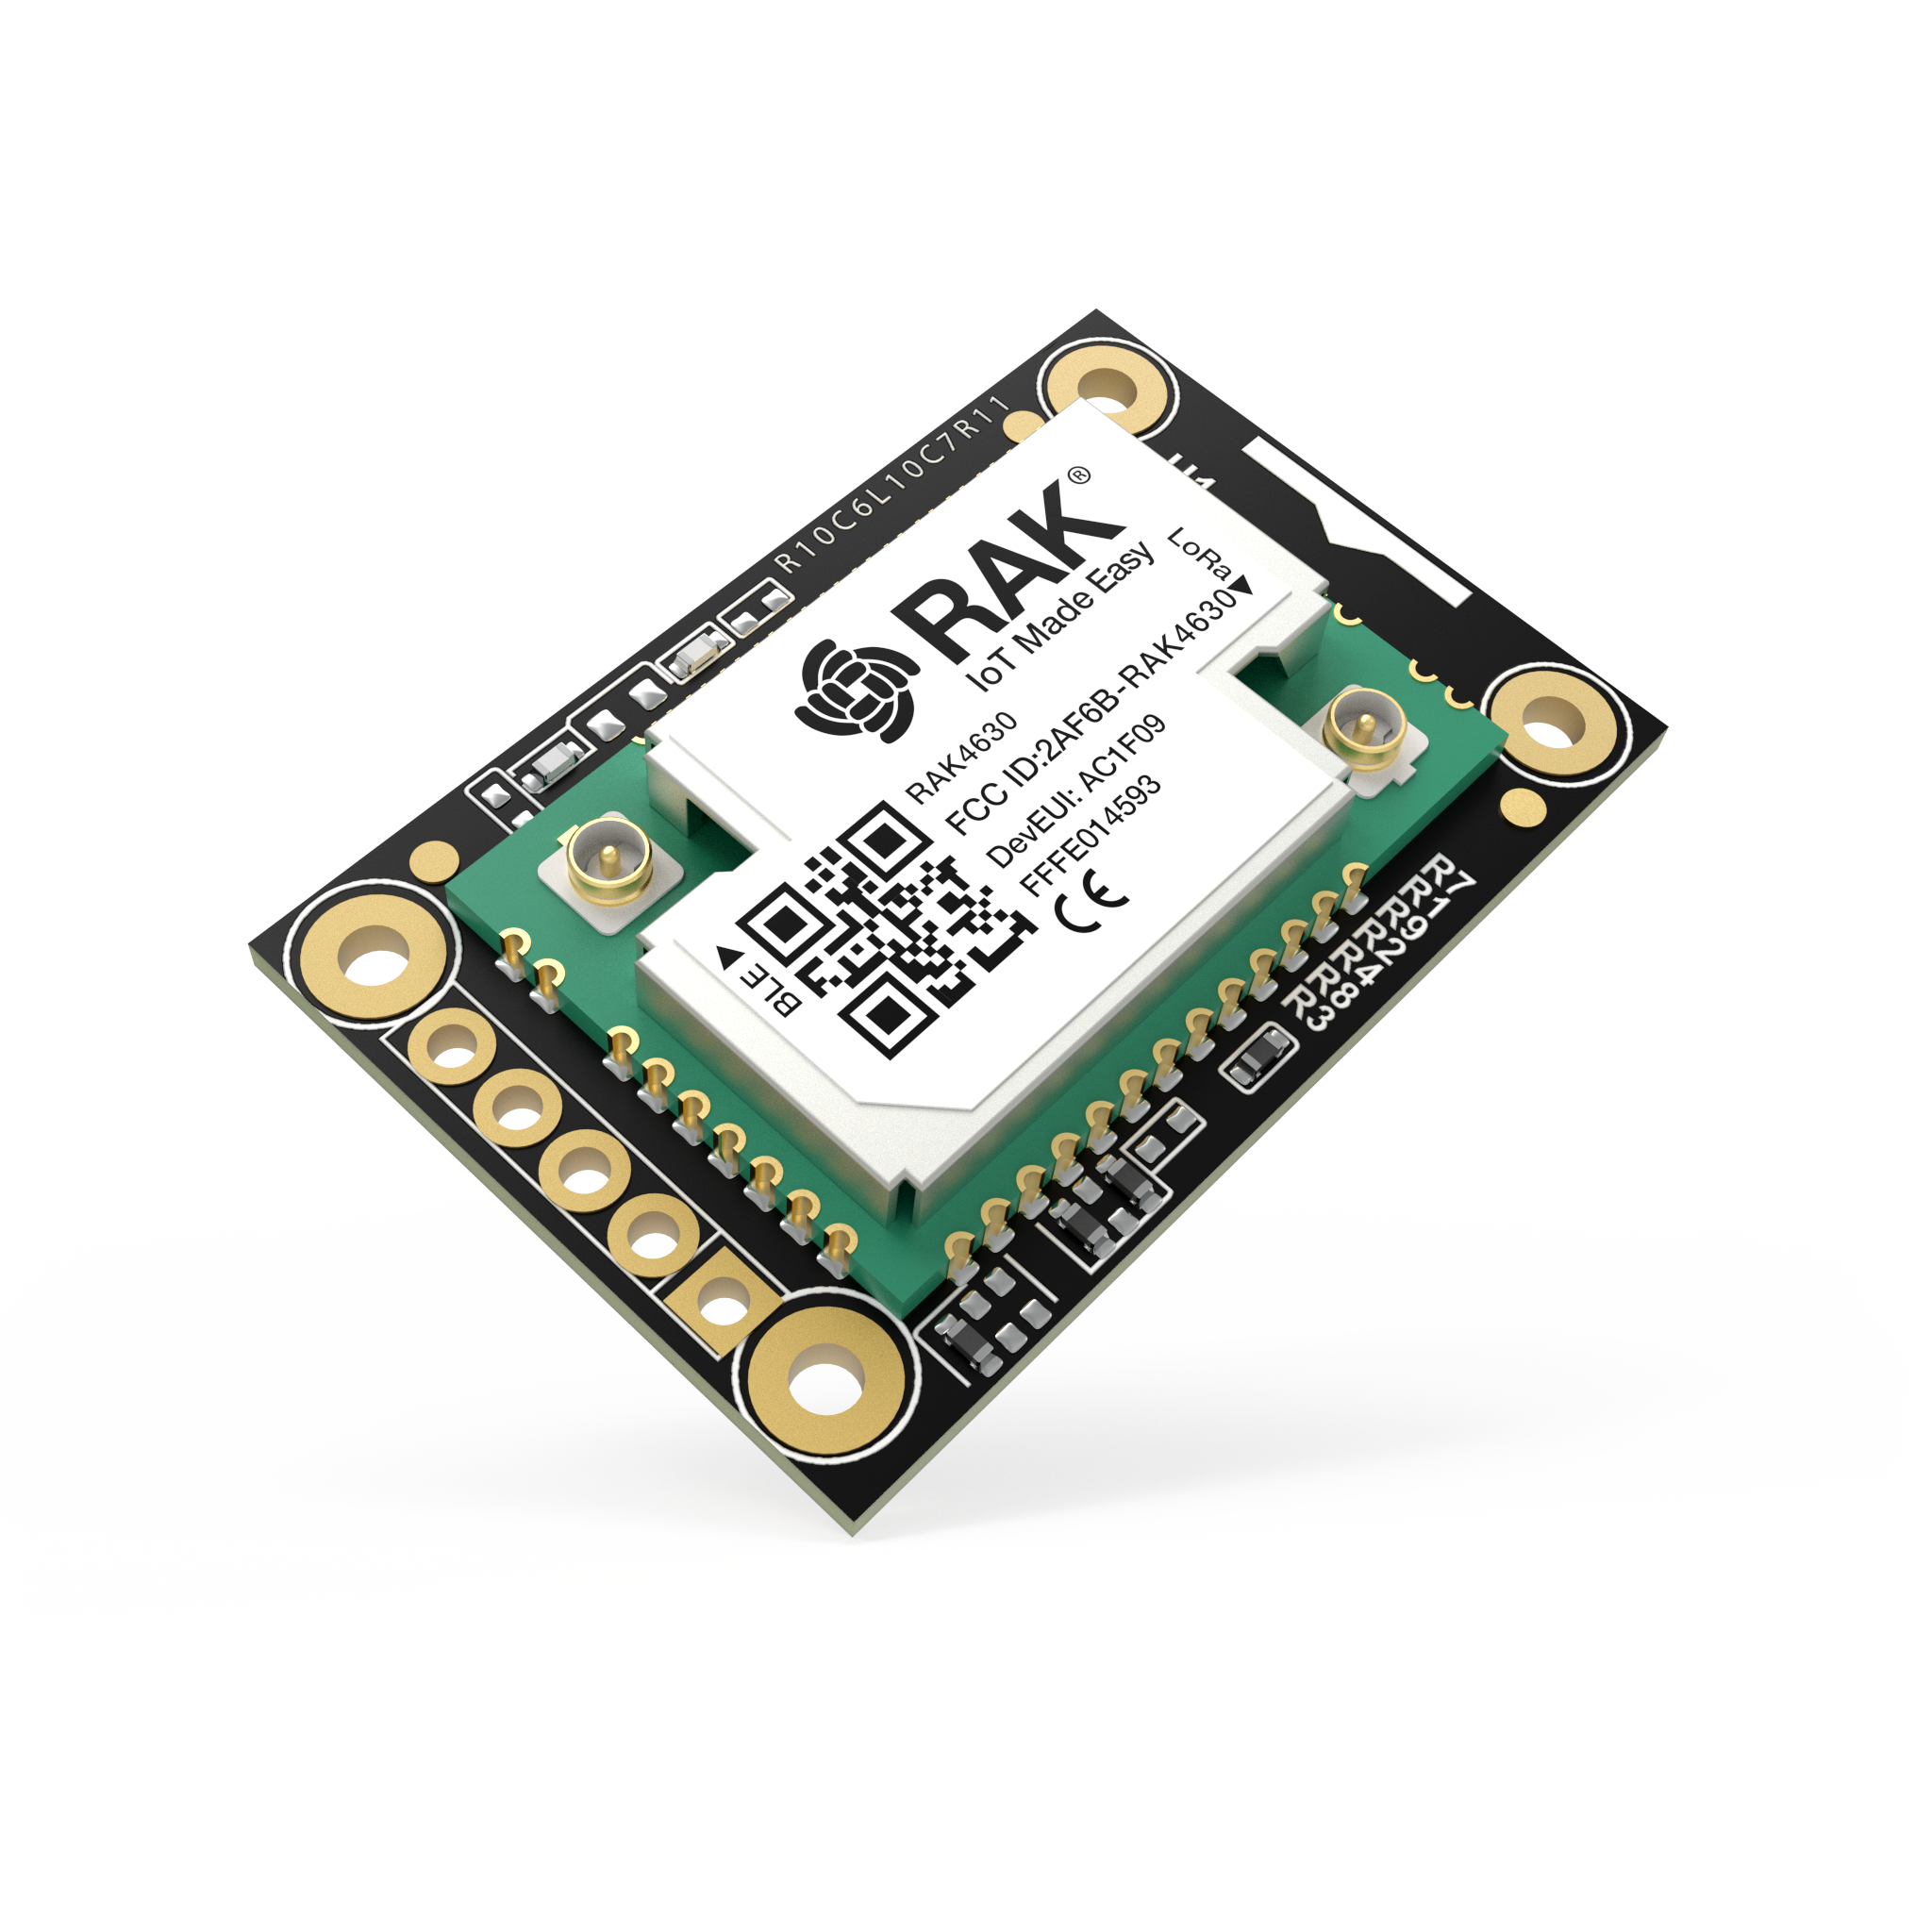
nRF52840 based, which means excellent battery life. Modular system so you can snap on GPS, sensors, displays, whatever. Community favorite. If you want to build something custom or run a solar-powered node, this is the move.
LILYGO T-Deck (~$50-60)

ESP32-S3 with a built-in screen AND keyboard. It's basically a standalone Meshtastic device. No phone needed. If you want something you can just pick up and type on, this is it.
Other Notable Options
- Seeed Card Tracker T1000-E (~$30) - Credit card sized, IP65 waterproof, GPS. Just works.
- B&Q Nano G2 Ultra - nRF52840, GPS, portable and rugged. Another community favorite.
- Heltec Mesh Node T114 - nRF52840, very low power. Good for solar deployments.
- XIAO nRF52840 + Wio-SX1262 Kit (~$14) - Cheapest possible entry point.
Quick note on chip families: nRF52-based devices sip power (great for solar/battery). ESP32-based devices cost less and have WiFi, but eat more juice. For a first node, either works. For a solar repeater on a mountaintop, go nRF52.
Flashing Firmware: The Easy Way
Don't overthink this part. The Meshtastic team built a web flasher that does all the heavy lifting.
Step 1: Don't be that guy
Attach your antenna BEFORE powering on the radio. Running a LoRa radio without an antenna can fry the radio chip. Just don't.
Step 2: Plug it in
Connect your device to your computer with a USB data cable. Emphasis on DATA cable. If your computer doesn't see the device, it's probably a charge-only cable. We've all been there.
Step 3: Flash it
Open flasher.meshtastic.org in Chrome or Edge (Firefox and Safari don't support Web Serial). The flasher auto-detects your device. Select your region (US for us), click flash, and wait. Done.
Step 4: Configure
Connect to your freshly flashed node via the Meshtastic app (Android or iOS) over Bluetooth, or use the web client. Set your region, give yourself a name, and you're on the mesh.
Joining the Mesh
Here's the beautiful part: there's nothing to join. If your node is on and flashed with Meshtastic firmware, it's already listening. Any node within range running the same modem preset (default is LONG_FAST) on the default channel will see you, and you'll see them.
The default primary channel uses a well-known encryption key, so all stock Meshtastic devices can talk to each other out of the box. For private conversations, you can create secondary channels (up to 7) with custom encryption keys.
Range Expectations
- Stock antenna, ground level: 1-2 miles typical
- Elevated antenna, clear line of sight: 6-20+ miles
- With serious height advantage and good antennas: 30+ miles
- World record: 206 miles (don't expect this)
Node Roles
Leave your node role as CLIENT. That's the default and it's smart about when to relay messages. Don't set it to ROUTER or REPEATER unless you really know what you're doing -- they actually make congested meshes worse by increasing packet collisions.
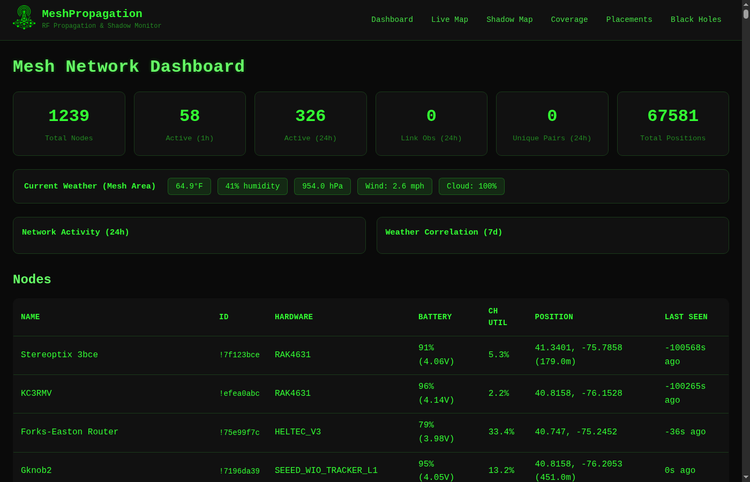
Getting on map.nepamesh.com
This is the fun part. We run our own MQTT server for the NEPAMesh network, and nodes that connect to it show up on map.nepamesh.com. Getting your node on the map takes a few config steps.
Step 1: Enable MQTT
In the Meshtastic app, go to Radio Configuration > MQTT Module. Enable it. For the server address, username, and password -- hop into the NEPAMesh Discord and ask. We'll get you the correct settings. We don't post them publicly to keep things manageable.
Step 2: Enable Map Reporting
In the MQTT settings, enable Map Reporting. Set the publish interval (minimum 3600 seconds, which is once per hour). Set your position precision to something you're comfortable with -- the default adds about 1 mile of fuzz to your actual location.
Step 3: Enable 'OK to MQTT' in LoRa Settings
This is the one people miss. Go to LoRa configuration and enable 'OK to MQTT'. Without this flag, your node won't share data to MQTT even if the module is enabled.
Step 4: Make Sure You Have a Position
Your node needs to know where it is. Options: built-in GPS (if your device has one), share location from your phone via the app, or set a fixed position manually. Any of these work.
Step 5: Channel Settings
On your primary channel, enable position sharing but disable 'Precise Location'. This broadcasts your approximate position, not your exact coordinates. Good practice.
Once configured, your node will periodically report to the NEPAMesh MQTT server and show up on the map. Give it up to an hour for the first report to come through.
What Now?
Get a node. Connect antenna. Flash it. Turn it on. That's genuinely it for the basics. The mesh grows every time someone adds a node, and more nodes means better coverage for everyone.
If you want to go further -- solar-powered repeaters, custom sensor nodes, gateway setups -- there's plenty to explore. But that's another post.
Questions? Hit up the NEPAMesh Discord. We will try to help.
Useful Links
- Meshtastic Project: meshtastic.org
- Web Flasher: flasher.meshtastic.org
- NEPAMesh Map: map.nepamesh.com
- NEPAMesh Discord: Invite
- Meshtastic App: Android (Play Store) / iOS (App Store)
Meshtastic is a registered trademark of Meshtastic LLC. Meshtastic software components are released under various licenses, see GitHub for details. No warranty is provided - use at your own risk. The Meshtastic logo trademark is the trademark of Meshtastic LLC. This post is not endorsed by or affiliated with Meshtastic LLC.