The Go-Bag Meshtastic Node: Field-Ready, Low-Power, One Weekend Build

The fixed nodes carry the network. The ones you carry matter too.
A go-bag node has different requirements than a permanent install. It doesn't need to run for months unattended. It needs to run for a weekend, fit in a pack without cracking anything, and when you crest a ridge with line of sight to three valleys, it needs enough antenna to use that advantage. The hardware and firmware choices that work for a rooftop install work against you in the field.
Here's how to build one that does the job well.
Picking the Right Hardware
Not every Meshtastic board suits field carry.
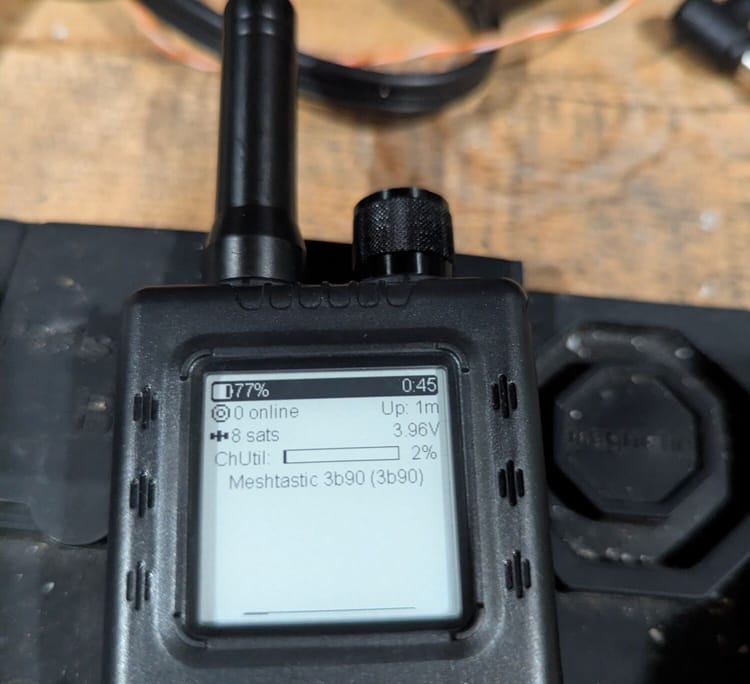
T-Echo (LilyGO) is the right choice for most go-bag builds. It runs an nRF52840 chip instead of the ESP32 found in most other popular boards, and that chip draws a fraction of the current. The E-Ink display costs almost nothing to leave on: E-Ink only consumes power when the screen refreshes, not while it's displaying. GPS and a 350mAh battery are built in, and everything ships in an injection-molded case that survives getting thrown in a pack. Realistic runtime: three to five days with GPS active and the screen refreshing on new messages.
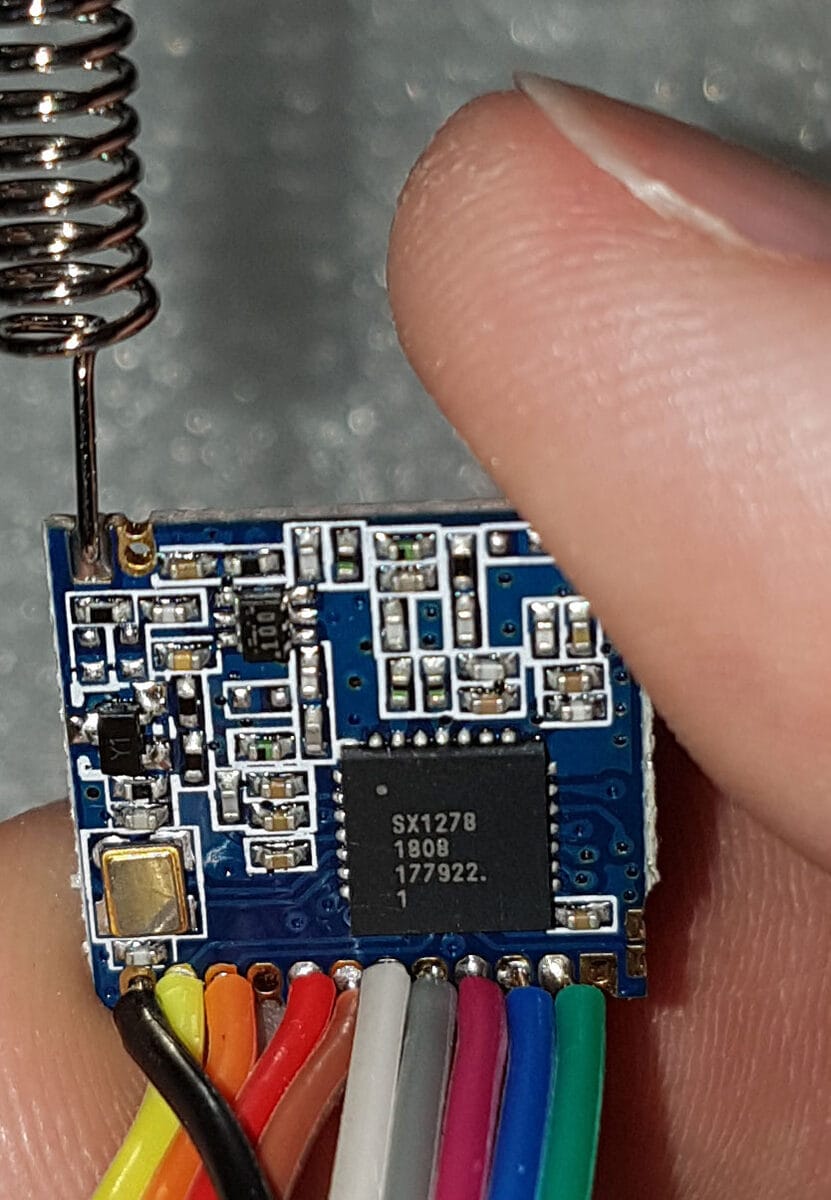
Heltec V3 works if you already own one. It runs an ESP32-S3 with a small OLED screen, and that OLED screen is the first thing to disable. Paired with a slim 18650 power bank, you'll get 18-24 hours between charges with careful settings. Lower cost, shorter runtime: a reasonable tradeoff if the hardware is already on your desk.
RAK WisBlock builds are more capable but need more assembly time before they're field-ready. The modular system lets you configure exactly what you need: GPS module, display, real enclosure, solar charging input. For a first portable build, the time investment is hard to justify, though the nRF52840 core underneath does bring genuinely good battery life with it. For someone building a second or third portable node with specific requirements, it's the right platform. If the assembly time is the only thing holding you back, RAK also sells the WisMesh Pocket V2, the same RAK4631 core as the WisBlock, already built into a compact, plug-and-play handheld. It skips the build entirely and gets you WisBlock's hardware in a go-bag-ready form factor. Full disclosure: we haven't gotten a unit on the mesh yet, so we can't confirm it actually delivers on that promise. Whether it matches WisBlock's capability while beating the ESP32-based nodes on ease of use and battery life, or whether the plug-and-play version cuts corners to get there, is still an open question. We'll update this section once we've run one for a few weeks.
Start with the T-Echo. If you have a Heltec, configure it carefully and carry a power bank.
Making the Battery Last
Firmware settings move the needle more than hardware choices once you've picked your board.
Screen off is the single biggest win on ESP32 boards. An OLED draws 20-50mA continuously, regardless of what it's displaying. Disabling the screen on a Heltec V3 extends runtime from roughly 6 hours to 18-24 hours with no other changes. Do this first. On the T-Echo, the E-Ink display doesn't have this problem; leave it on.
Bluetooth stays on if you're carrying the node as a communicator. Pairing your phone is how you send and receive messages; turning BT off defeats that entirely. The 15-20mA idle drain is only worth cutting if the node is deployed as an unattended relay at base camp with no active user, not on a node riding in your chest pocket.
Drop the GPS update interval from the default. Meshtastic defaults to a position update every 15-30 seconds; 60 seconds works fine for a hiking node, and 300 seconds is plenty for one you've placed at camp and walked away from. The GPS module runs significantly cooler at longer intervals, and your dot on the map is still accurate enough to matter.
Transmit power at 17dBm instead of 22dBm reduces current draw during TX events. Maximum power on a Heltec V3 pulls around 120mA at the antenna; 17dBm pulls closer to 80mA. Within most of NEPA's terrain, the range difference between those two settings is smaller than you'd expect. Running at maximum power to hit a node 2km away burns battery for no gain. Crank it up when you're on a ridge trying to reach something far out; run it down otherwise.
Meshtastic's built-in power save mode puts the radio into a low-power sleep state between packet windows. Enable it under Radio Config > Power. You trade a small amount of message latency for real battery savings; for most field use that's a good deal.
CLIENT_MUTE makes sense if you're carrying the node primarily to communicate, not to relay traffic. A CLIENT_MUTE node receives messages and transmits its own but won't rebroadcast packets from other nodes. In an area with good existing mesh coverage, this keeps your device quiet and extends runtime. In a gap area where you might be the only relay path, leave it as CLIENT or CLIENT_BASE.
Recharging Without a Wall Outlet
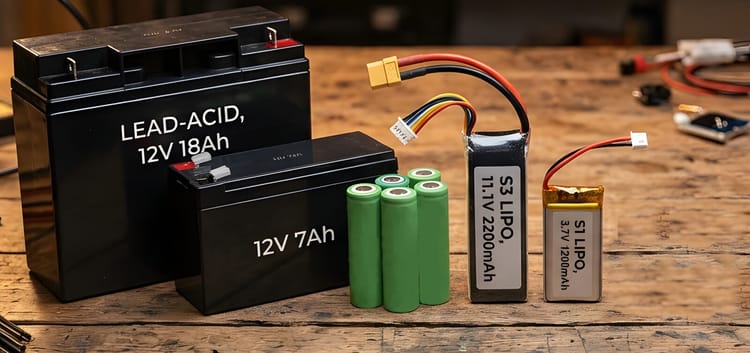
A 10,000mAh USB power bank is the easiest answer and the right starting point. Three to four full recharges of a T-Echo's battery, fits in a side pocket, nothing to configure. For a weekend trip where you're back at camp each night, this is enough.
For longer trips, add a folding solar panel. Size it this way: Meshtastic averages 80-120mA of draw depending on GPS and TX frequency. A 10W panel at 5V puts out around 1.5-2A in good sun. That's more than enough to run the node and charge the power bank at the same time. On a partly cloudy day it at least keeps pace with consumption.
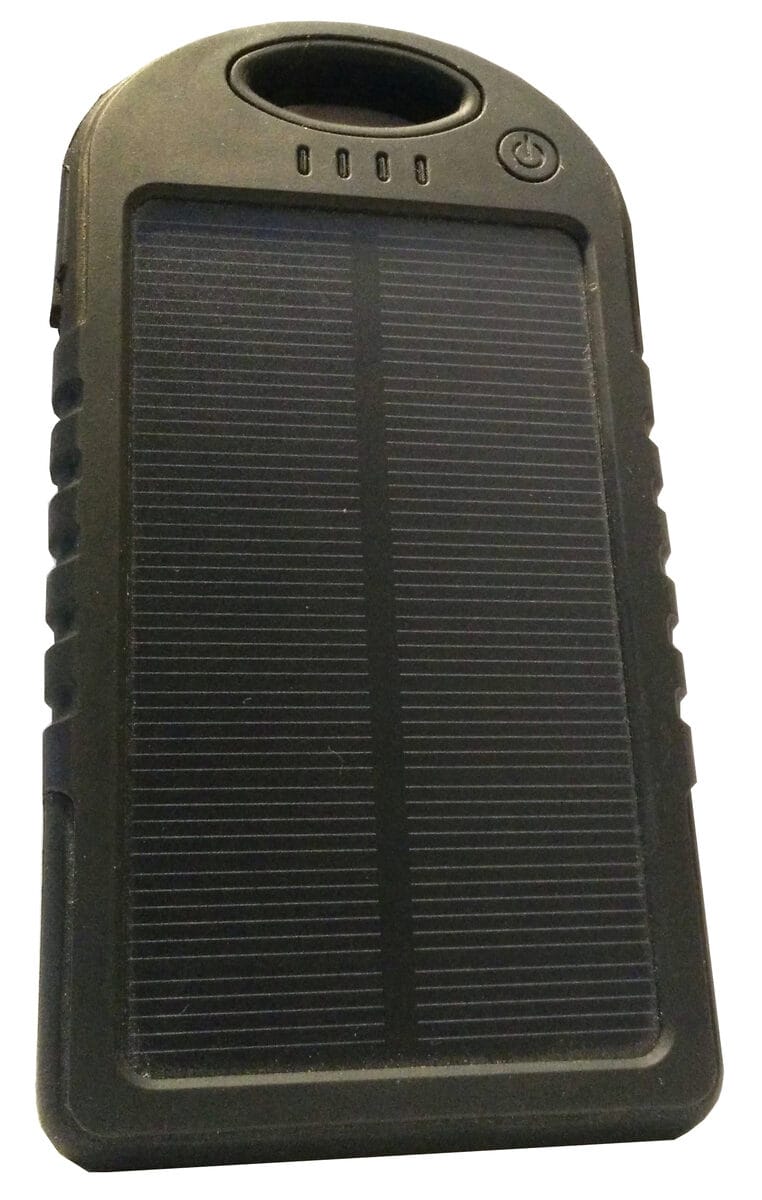
Run solar into the power bank, and the power bank into the node. Direct solar to node works in principle but most folding panels don't regulate their 5V output cleanly enough: when a cloud passes, voltage sags, and some boards reset or lose config. The power bank acts as a buffer and handles those swings. An Anker, BioLite, or similar 10W folding panel plus a 10,000mAh bank is a capable combination at under 500 grams total.
For vehicle-based operations: a 12V USB adapter in a car outlet covers all of this without the weight. Keep one in the kit regardless.
Antenna: When the Rubber Duck Isn't Enough
The stub antenna that came with your board is fine for a node riding in a pack. For a node you're actively using to reach distant mesh, it isn't.
Flexible whip antennas at 915MHz (RAK's 20cm SMA whip is a common choice) fold flat, don't snap off when the pack shifts, and outperform the shorter stubs on most boards. For hiking with the antenna sticking out of a shoulder strap or chest pocket, this is the practical upgrade: negligible weight, better radiation pattern, fits without modification.
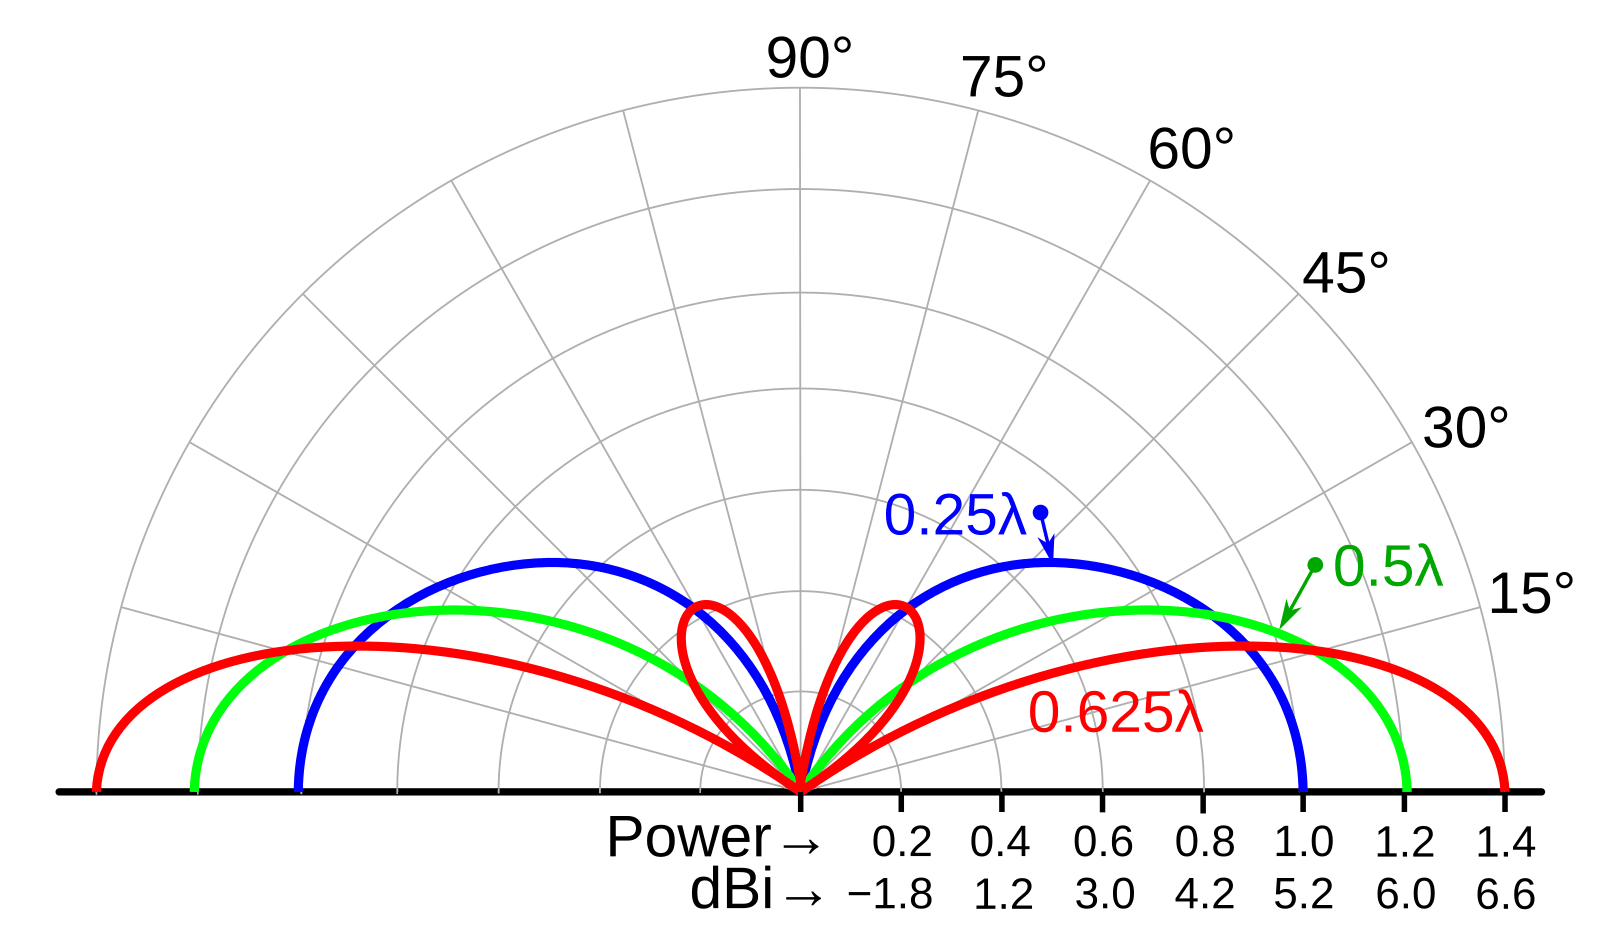
A tape measure yagi is the right tool when you need real distance from a fixed position. Three elements, built from a standard tape measure and hardware-store parts, weighs under 50 grams and packs completely flat. At 915MHz, a three-element tape measure yagi delivers 7-10dBi of gain. Get to a ridgeline with one and you'll hit NEPAMesh nodes 30-50km out. Plans for 915MHz are available and take about an hour to build. The tradeoff: it's directional, so you point it at what you're trying to reach rather than relying on an omnidirectional pattern.
For a relay node left at camp, a magnetic-mount whip stuck to a cook pot lid and propped up on a hiking pole works better than it has any right to. The pot lid acts as a ground plane, the pole gets the antenna above the tent line, and you can aim it toward wherever the nearest relay node is.
Getting on the Map
A portable node configured with OK to MQTT on and the NEPAMesh server settings will appear on map.nepamesh.com within minutes of powering on. Full MQTT setup is at Getting Your Node on the Map. Short version: server mqtt.nepamesh.com, username meshdev, password large4cats, root topic msh/nepa, uplink on, downlink off.
Before heading out to a gap area, run your planned position through the propagation tool at propagation.nepamesh.com/suggestions. A portable node on a ridge in an uncovered area contributes real shadow reduction data even for a single day. Back Mountain currently scores 2.0% marginal shadow reduction: the highest uncovered gap in the Wyoming Valley region. A day trip with a go-bag node there shows up in the data.
Questions about hardware picks, role config, or coordinating a field day go in the NEPAMesh Discord.
NEPAMesh is a community Meshtastic network covering Northeastern Pennsylvania's Wyoming Valley. Live map at map.nepamesh.com. Questions in the Discord.
Meshtastic is a registered trademark of Meshtastic LLC. No warranty is provided. Use at your own risk. This post is not endorsed by or affiliated with Meshtastic LLC.