RF Test Equipment for the Meshtastic Builder: What's Worth It and What to Do With It

Ever get a node going and wonder why it's quieter than it should be? Maybe your transmissions aren't reaching as far as the math says they should. Maybe a neighbor's node can hear you at -110 dBm when you'd expect -80. Something in the RF path is eating your signal, and "maybe the antenna is okay" isn't a diagnosis.
The good news: RF test equipment has gotten cheap. Not lab-grade cheap, but hobby-grade, good-enough-to-find-real-problems cheap. This post covers the instruments worth having on the bench, what they're actually for, and how you'd use them on a Meshtastic build.
Contributed by Storm017.
NanoVNA
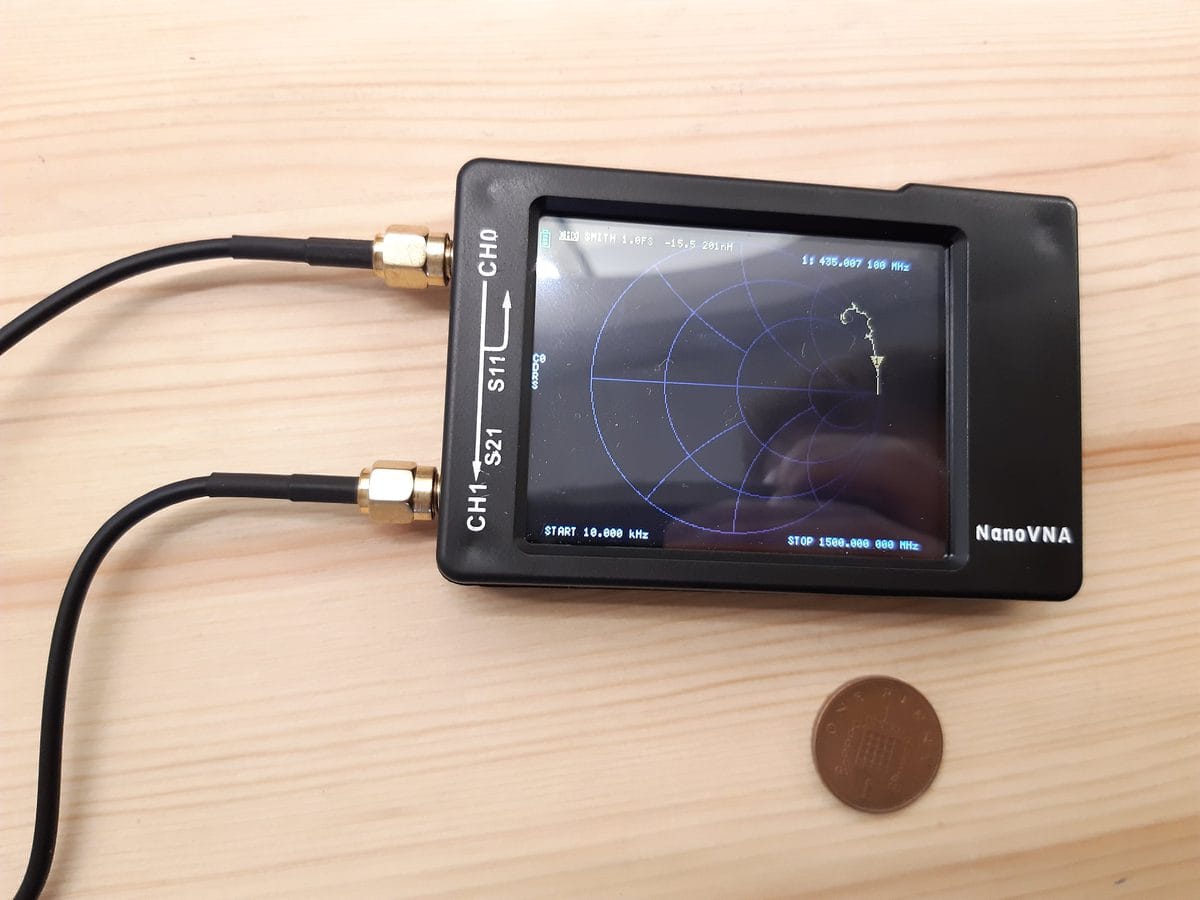
A NanoVNA is a pocket-sized vector network analyzer. Lab VNAs cost thousands of dollars. A NanoVNA costs $50–$80, covers 50 kHz to 3 GHz (some models to 4.4 GHz), and will tell you things about your antennas and cables that a gut check never will.
Before you trust any reading, calibrate it. Every unit ships with an open, short, and load (OSL) calibration kit. Run the cal at the port you'll be measuring from, at the frequency range you care about. Skip calibration and your numbers will lie to you.
What you can do with it on a Meshtastic build:
- Check your antenna's SWR at 915 MHz. Anything below 2:1 is acceptable. Below 1.5:1 is good. A badly cut or damaged antenna will stand out immediately.
- Measure cable loss. Run S21 through your feedline and see what you're losing before the signal gets anywhere.
- Verify your connector didn't fail. A cold solder joint on an SMA shows up as a big impedance spike.
- Tune a homebrew antenna. If you built a ground plane or slim-jim, the NanoVNA tells you exactly how far off resonance you are and which direction to go.
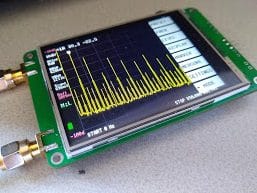
SA6 Spectrum Analyzer
A spectrum analyzer shows you signal amplitude versus frequency. Where a VNA tells you about the passive RF path, a spectrum analyzer tells you what's actually being transmitted. The SA6 covers 35 MHz to 6.2 GHz, has a 75 dB dynamic range, and fits in a jacket pocket.
What it's useful for:
- Verify your node is transmitting at 915 MHz and not on a harmonic or a misconfigured channel.
- Check for spurious emissions. A healthy LoRa module has clean harmonics well below the carrier. A bad antenna match can produce garbage you're putting into the mesh.
- Measure actual output power in dBm. Compare it to the configured power setting to spot hardware problems.
- Find interference. If someone near you is transmitting on or near 915 MHz, the SA6 will show it.
- Confirm your node is transmitting at all when you're debugging a "nothing is working" situation.
TinySA Ultra
The TinySA Ultra is a smaller, cheaper entry point into spectrum analysis. It covers 100 kHz to 5.3 GHz, has a 4-inch touchscreen, and runs $80–$120 depending on the seller. The original TinySA (not Ultra) tops out around 960 MHz, which covers 915 MHz but nothing above it. The Ultra extends to 5.3 GHz, which gets you 2.4 GHz and the higher Meshtastic bands if you ever need them.
The TinySA also includes a built-in signal generator up to 800 MHz, which is useful for testing your receive path. Generate a known signal, feed it into your node's SMA port through an attenuator, and verify the radio is actually decoding it. That's a bench test you can't do with the SA6.
The TinySA is open-source hardware with actively maintained firmware. Buy from a seller on the verified list at tinysa.org, counterfeits are common and the real units are only a few dollars more.
RTL-SDR
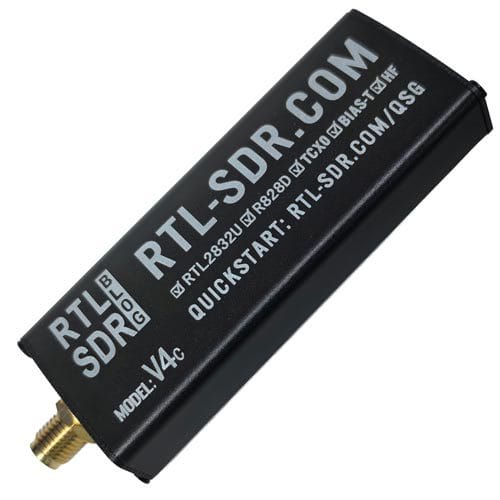
An RTL-SDR is a USB dongle that turns your laptop into a software-defined radio receiver. It only listens, it never transmits, which makes it completely safe to connect to any antenna without worrying about power levels.
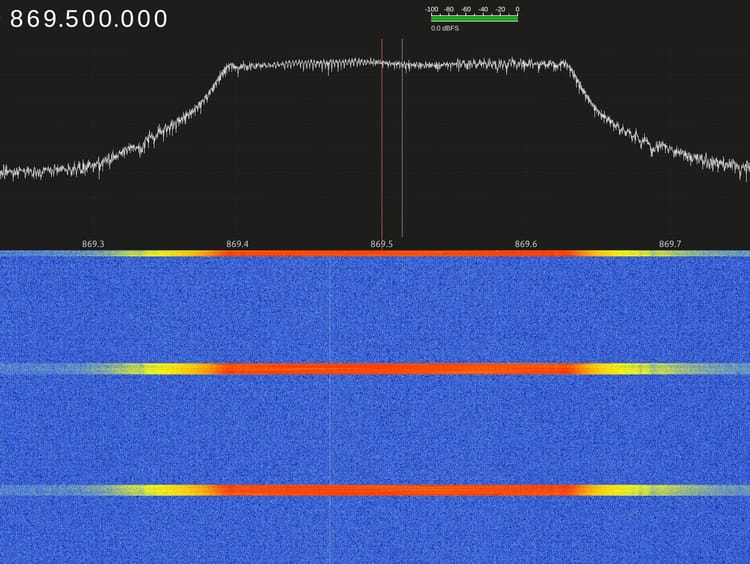
For Meshtastic, the most useful thing you can do with one is watch the spectrum passively while your nodes transmit. Open SDR# or GQRX, tune to 915 MHz with a 1 MHz span, and you'll see every LoRa chirp from every node within range. LoRa's spread-spectrum waveform has a characteristic swept shape in a spectrum display that's easy to spot once you've seen it. That's a fast way to confirm a node is transmitting, check timing, and compare signal levels between nodes.
Beyond that, it's good for finding interference sources, observing channel utilization in your area, and confirming your node is on the right frequency. It's also just a generally useful tool, same dongle that lets you receive ADS-B aircraft transponders, weather satellite images, and anything else in the 500 kHz to 1.7 GHz range.
The RTL-SDR Blog V3/V4 is the reference unit for the hobby community: around $30, well-supported, with drivers that actually work. Buy from rtl-sdr.com directly to avoid counterfeits.
50-Ohm Dummy Load
Not glamorous, but it belongs in the kit. A dummy load is a 50-ohm resistive termination that absorbs RF power instead of radiating it. When you're testing at the bench, checking transmit power, evaluating a firmware change, forcing a transmission for diagnostic purposes, put the dummy load on the antenna port so you're not spraying packets into the mesh while you work.
A 1–2 watt SMA dummy load is a few dollars. A 5-watt unit handles anything Meshtastic hardware outputs. Get one. Use it every time you're on the bench.
A note on buying
The NanoVNA, TinySA, and RTL-SDR are all open-source designs with active communities, which also means they have active counterfeit markets. The real units are only a few dollars more than the fakes and actually work as advertised.
- NanoVNA: Look for units from Hugen (the original designer) or Nooelec. Avoid units with no firmware source listed.
- TinySA: The verified seller list is at tinysa.org. Erik (the designer) keeps it current.
- RTL-SDR: Buy from rtl-sdr.com. The V3 and the V4 USB-C are both solid. Anything on AliExpress labeled "RTL-SDR Blog" probably isn't.
- SA6: No major counterfeit problem, but batch quality varies. Read recent reviews before ordering.
All of this equipment together. NanoVNA, spectrum analyzer, RTL-SDR, and a dummy load, runs well under $300 and covers the full range of bench tests you'd want to do on a Meshtastic node. That's a lot of diagnostic capability for what is, in the end, a $30–$80 radio.