The Solar Node Build: Permanent, Off-Grid, and Surprisingly Boring to Maintain
Last January, a WisBlock-based node on our network went dark for about two weeks. Not because it failed, because two weeks of NEPA winter had buried the solar panel under enough snow that it was contributing exactly zero watts to the charge controller. When the panel finally cleared, the node came back online. It had been running the entire time on two 18650 batteries, reporting into the mesh, relaying packets, doing its job. Two weeks. No sun. No intervention.
That's the argument for doing this right. A node that survives a NEPA January on stored battery power alone isn't a fluke, it's what happens when you pick the right chipset, size the battery correctly, and don't leave anything running that doesn't need to be.
This post is how to build that node.

Start With the Right Chipset
Everything else in this post is secondary to this decision.
The difference between an ESP32-based node and an nRF52840-based node in a solar deployment isn't minor, it's the difference between a build that works and one that's constantly on the edge. In deep sleep, an ESP32 draws around 10–150 µA depending on the specific variant and configuration. An nRF52840 draws under 2 µA. Active receive current on the ESP32 runs 80–120 mA. On the nRF52840, it's closer to 10–15 mA.
Run the math on a 4000 mAh battery at average load:
ESP32 average (with Meshtastic defaults):    ~80 mA  →   50 hours
nRF52840 average (with Meshtastic defaults): ~15 mA  →  266 hours
That's not a rounding error. That's the difference between a node that needs the sun up by tomorrow and one that coasts through two weeks of cloudy January weather on two 18650s.
Use a RAK WisBlock (RAK4631). The RAK4631 is an nRF52840 + SX1262 on a modular base board that has solar charge input built in, accepts standard 18650 cells or a LiPo pack, and has been running in outdoor Meshtastic deployments long enough that the failure modes are well understood. It's the right tool for this specific job.
If you already have a Heltec V3 or T-Beam and want to put it on solar: it'll work, but you'll need a bigger panel and battery to compensate for the higher draw, and you'll be playing defense on power budget all winter. Save the ESP32 boards for indoor fixed nodes on USB power and put an nRF52840 outside.
The Battery: 18650s Are the Right Call Here
Two 18650 cells in a holder give you roughly 4000–5000 mAh depending on cell quality. At 15 mA average draw, that's 11 days of runtime with zero solar input, and we've confirmed in the field that it'll push past two weeks on a well-optimized node.
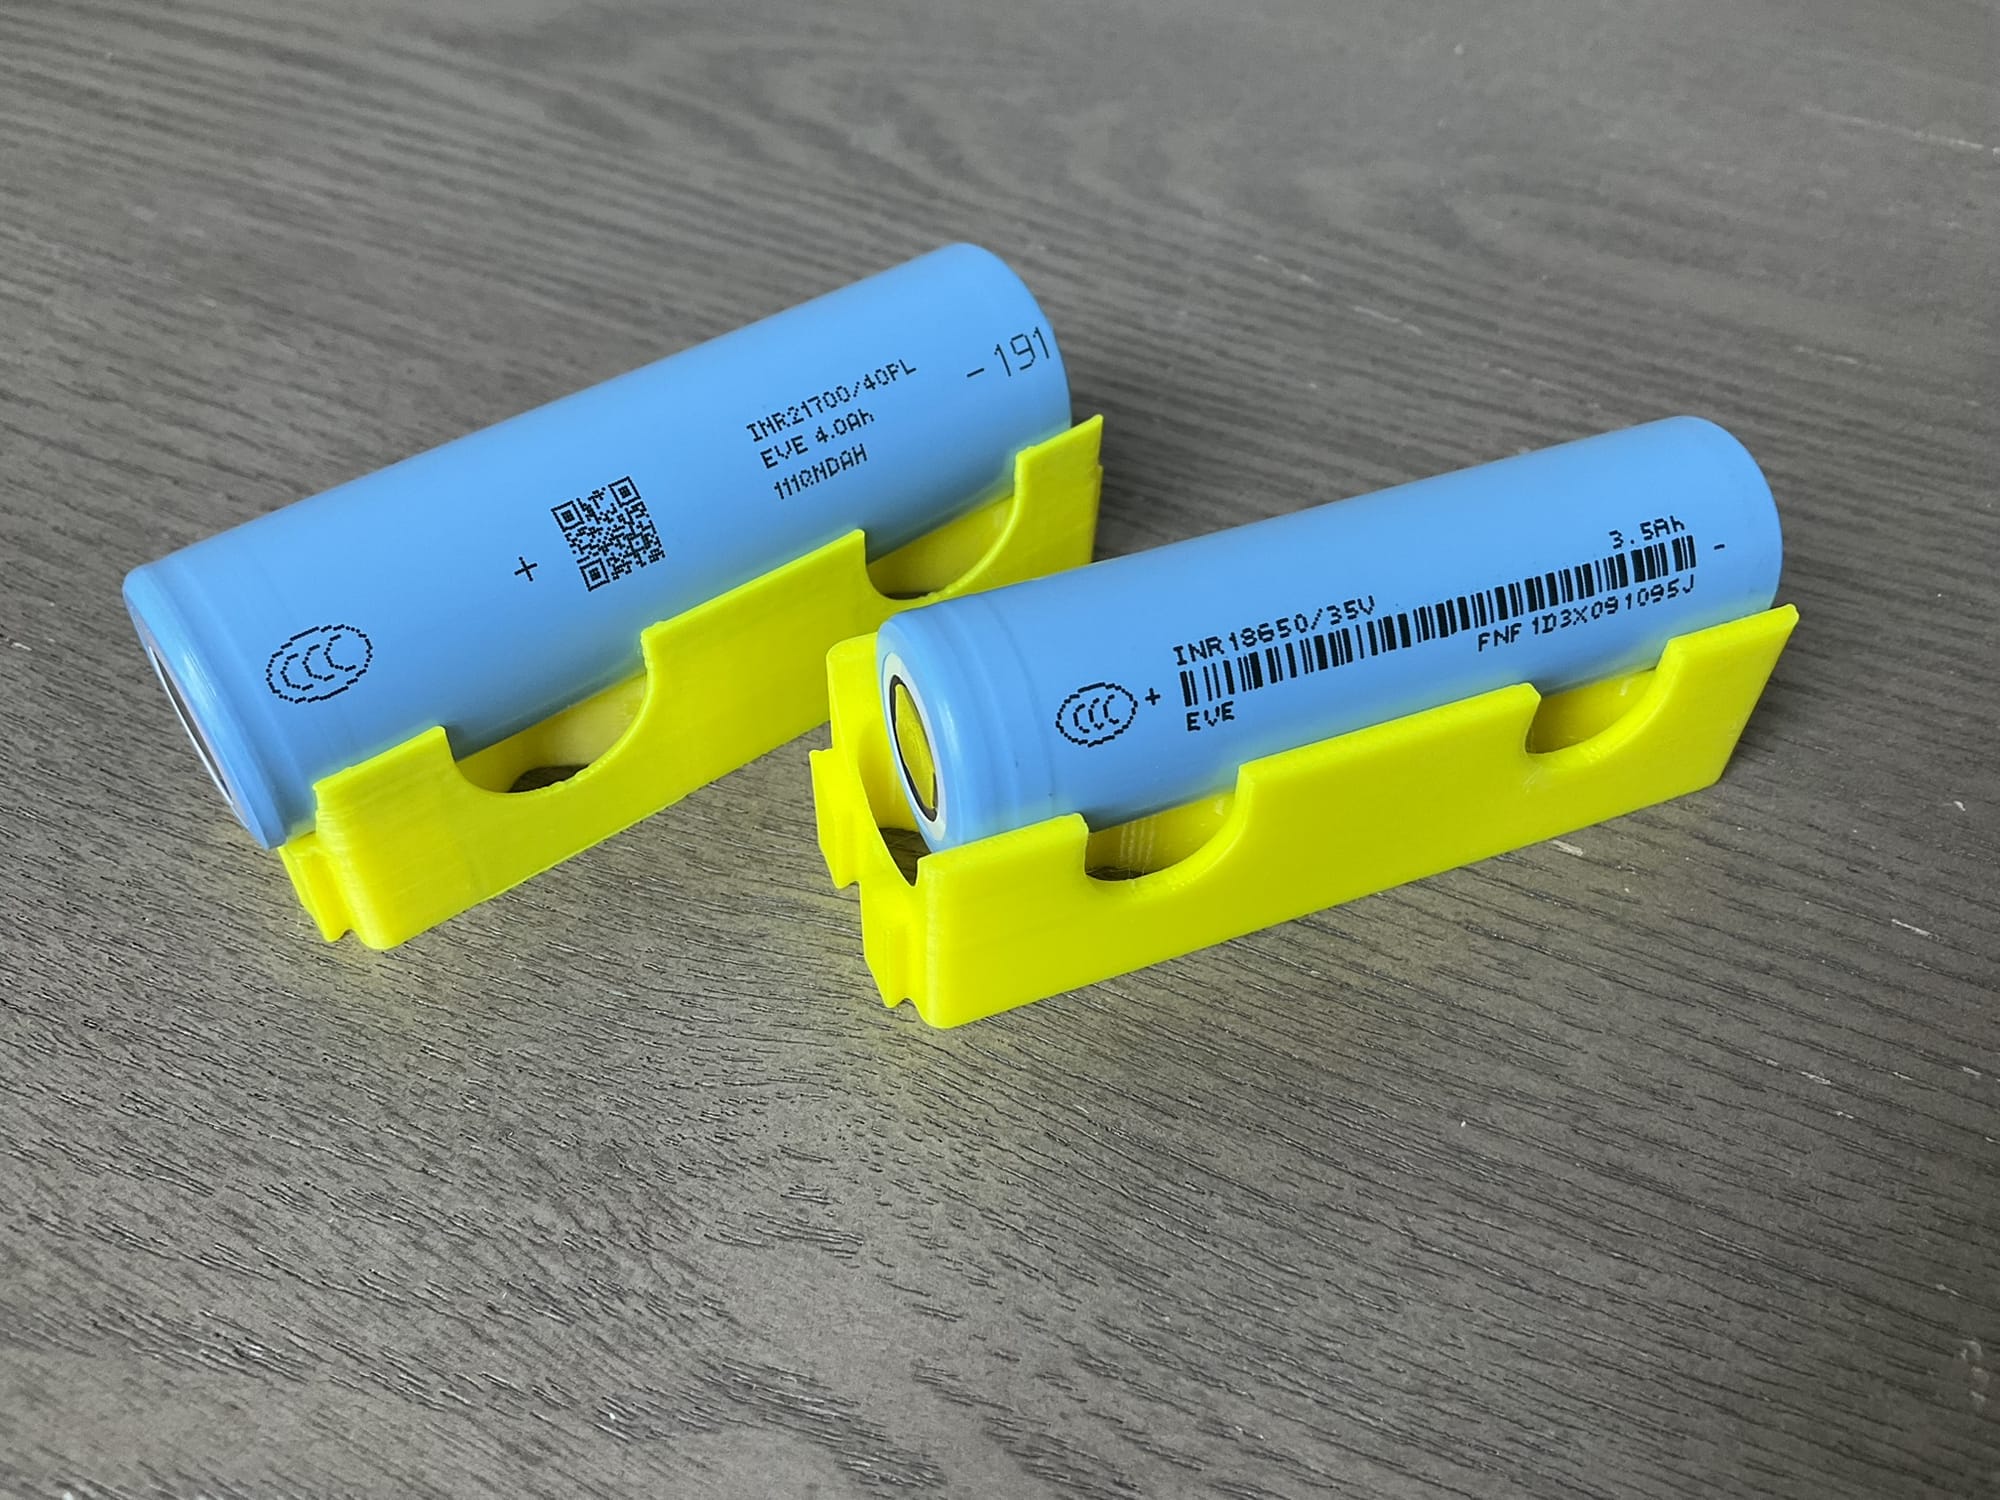
On cell quality: The difference between a legitimate 2500 mAh 18650 and a no-name "3500 mAh" cell from a mystery listing is real and significant. Buy Samsung 25R, LG HG2, or Panasonic NCR18650B cells. They're $5–8 each from a reputable battery supplier. Do not buy the bulk 10-pack for $12. The stated capacity is a fantasy and the cells won't last two winters.
LiFePO4 vs. 18650 lithium-ion: LiFePO4 cells can be safely charged down to about -20°C, which is a genuine advantage if your charge controller doesn't have a low-temperature cutoff. They also last significantly more charge cycles. The tradeoff is lower energy density, you'll need a larger physical pack for the same capacity. Either chemistry works with the right controller. LiFePO4 is the safer default if you're not sure about your controller's temperature handling.
The Panel: Smaller Than You Think
At NEPA's winter sun hours, roughly 2.5 peak hours on a clear day, less when overcast, a 5W panel produces:
5W × 2.5 peak hours = 12.5 Wh/day input
Node consuming 15 mA average:
15 mA × 24 hours = 360 mAh/day = 1.8 Wh/day

The panel produces roughly 7× what the node consumes on a clear day.
Even at 30% panel efficiency on a heavy overcast day, you're still net positive. The panel's job is to keep the batteries from slowly draining over a week of bad weather, which even a modest 2W panel can do under most conditions. The battery's job is to outlast the exceptions, like a two-week snow burial.
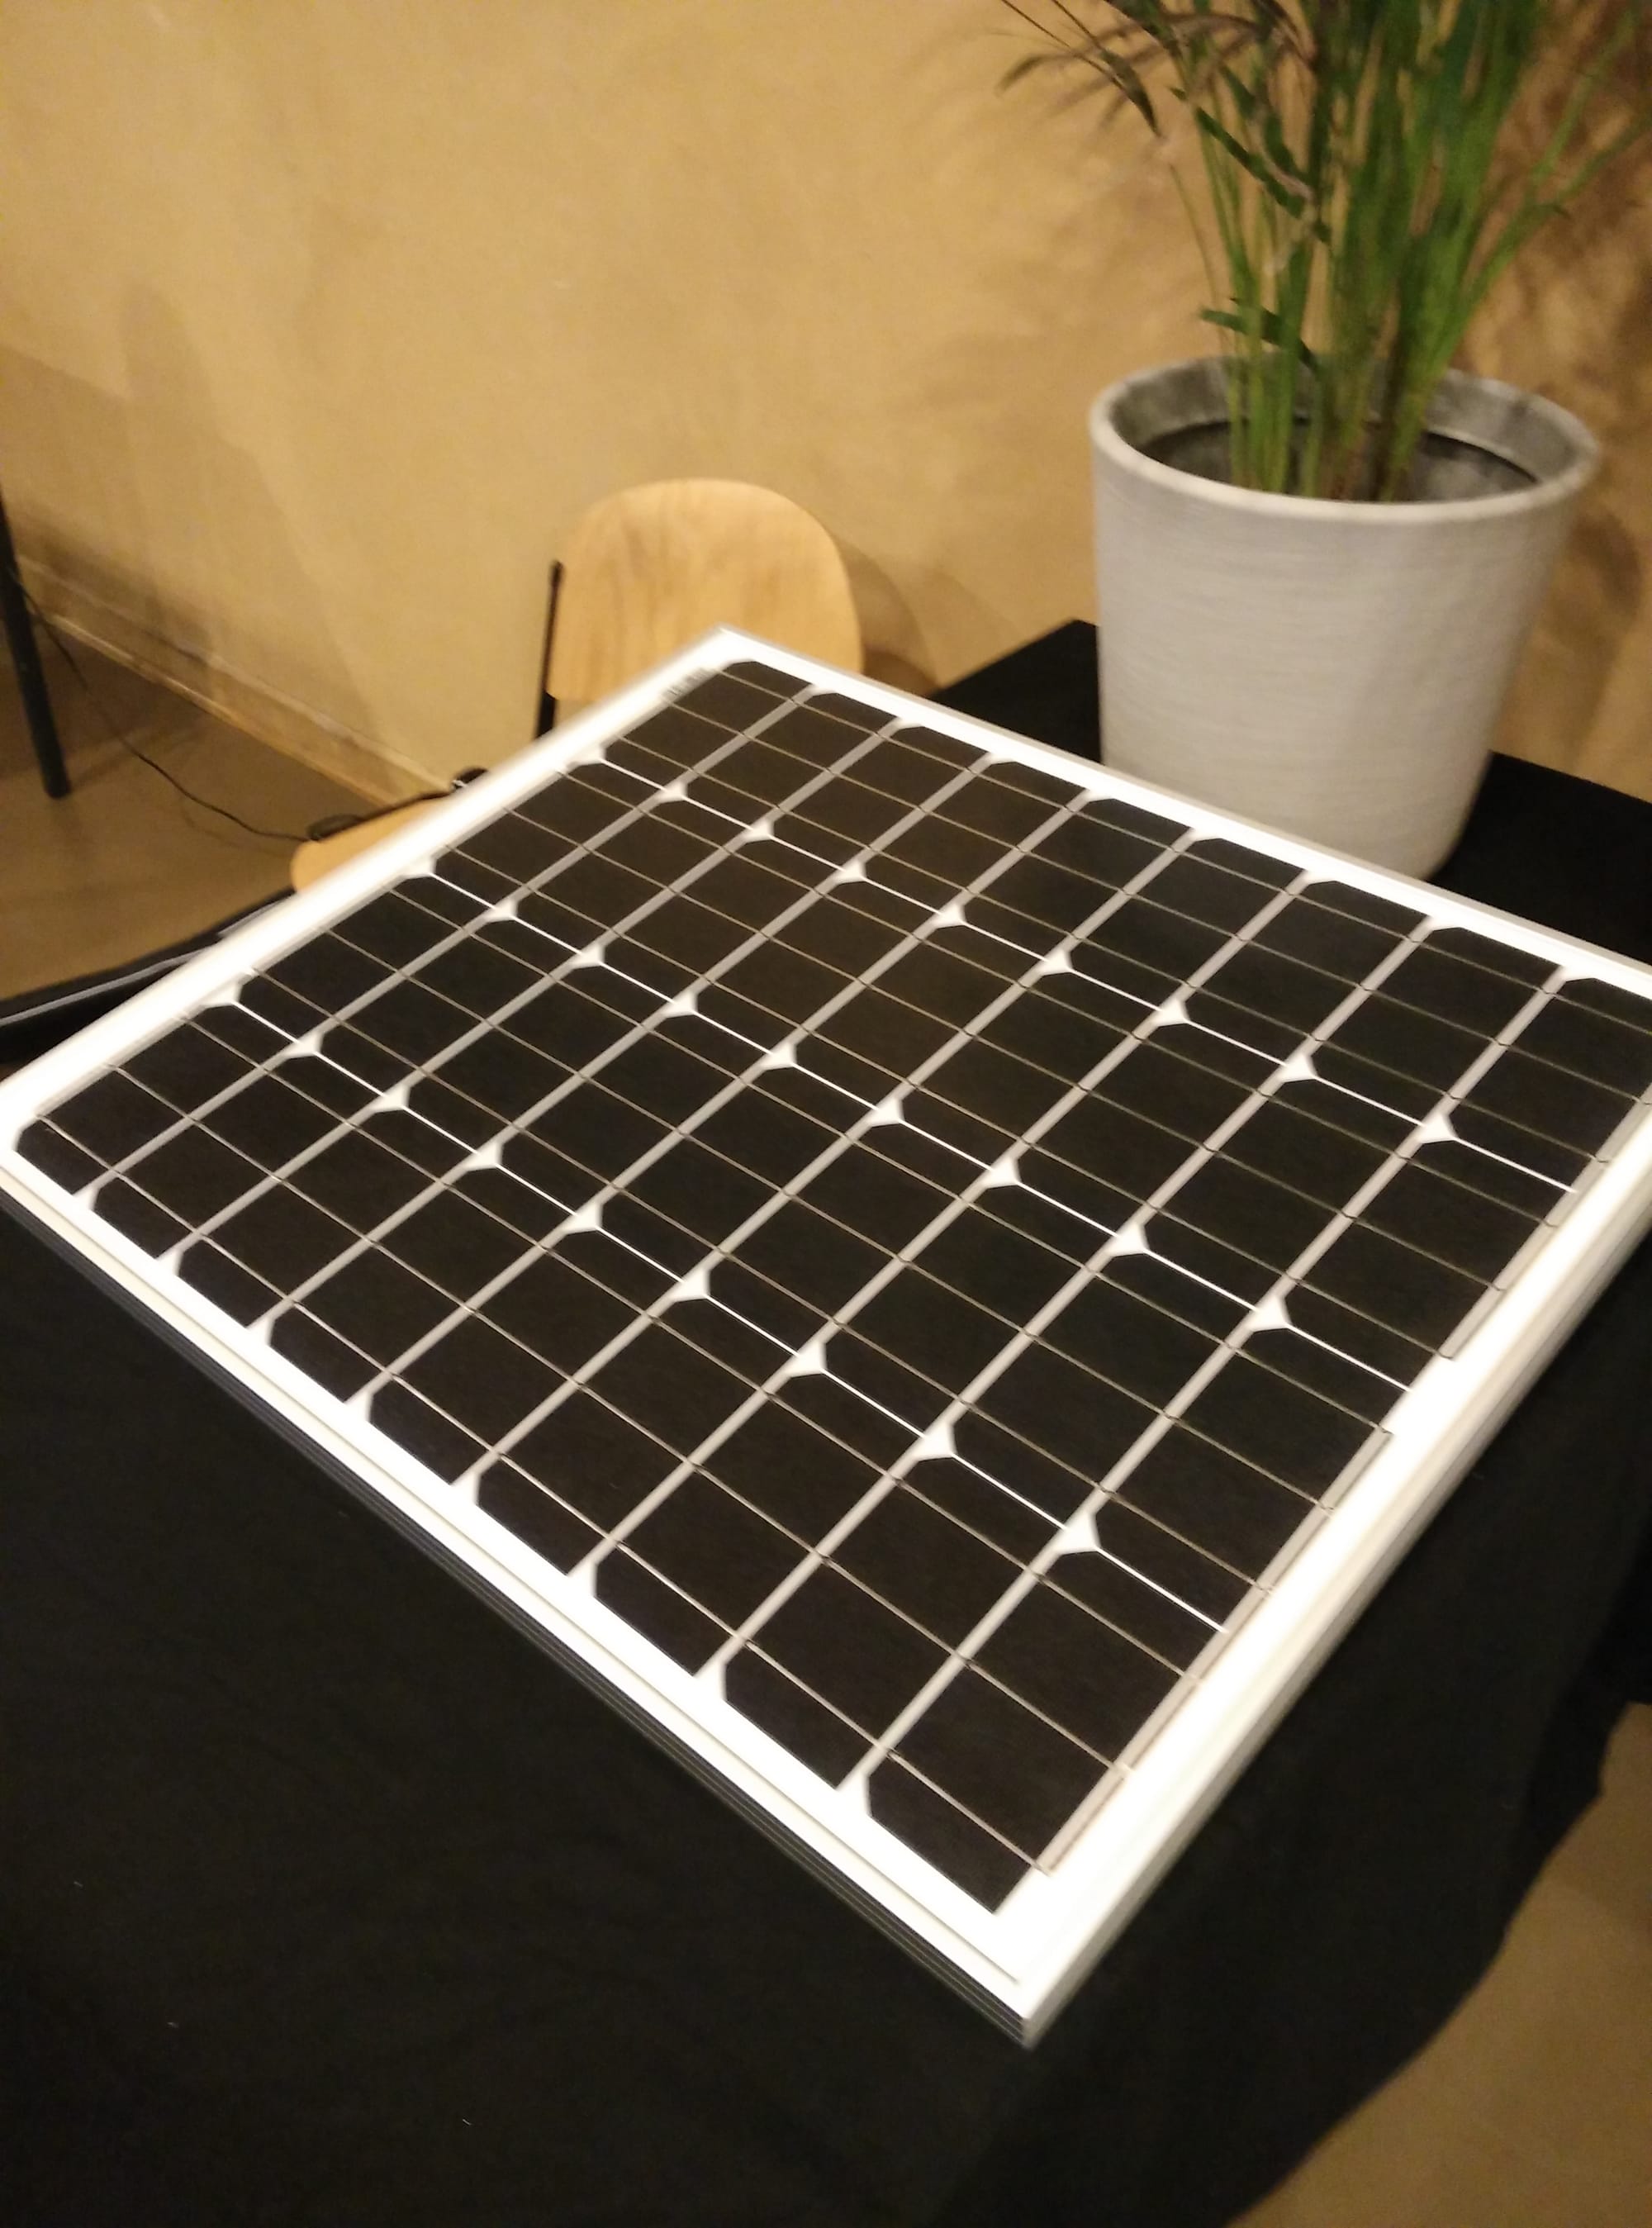
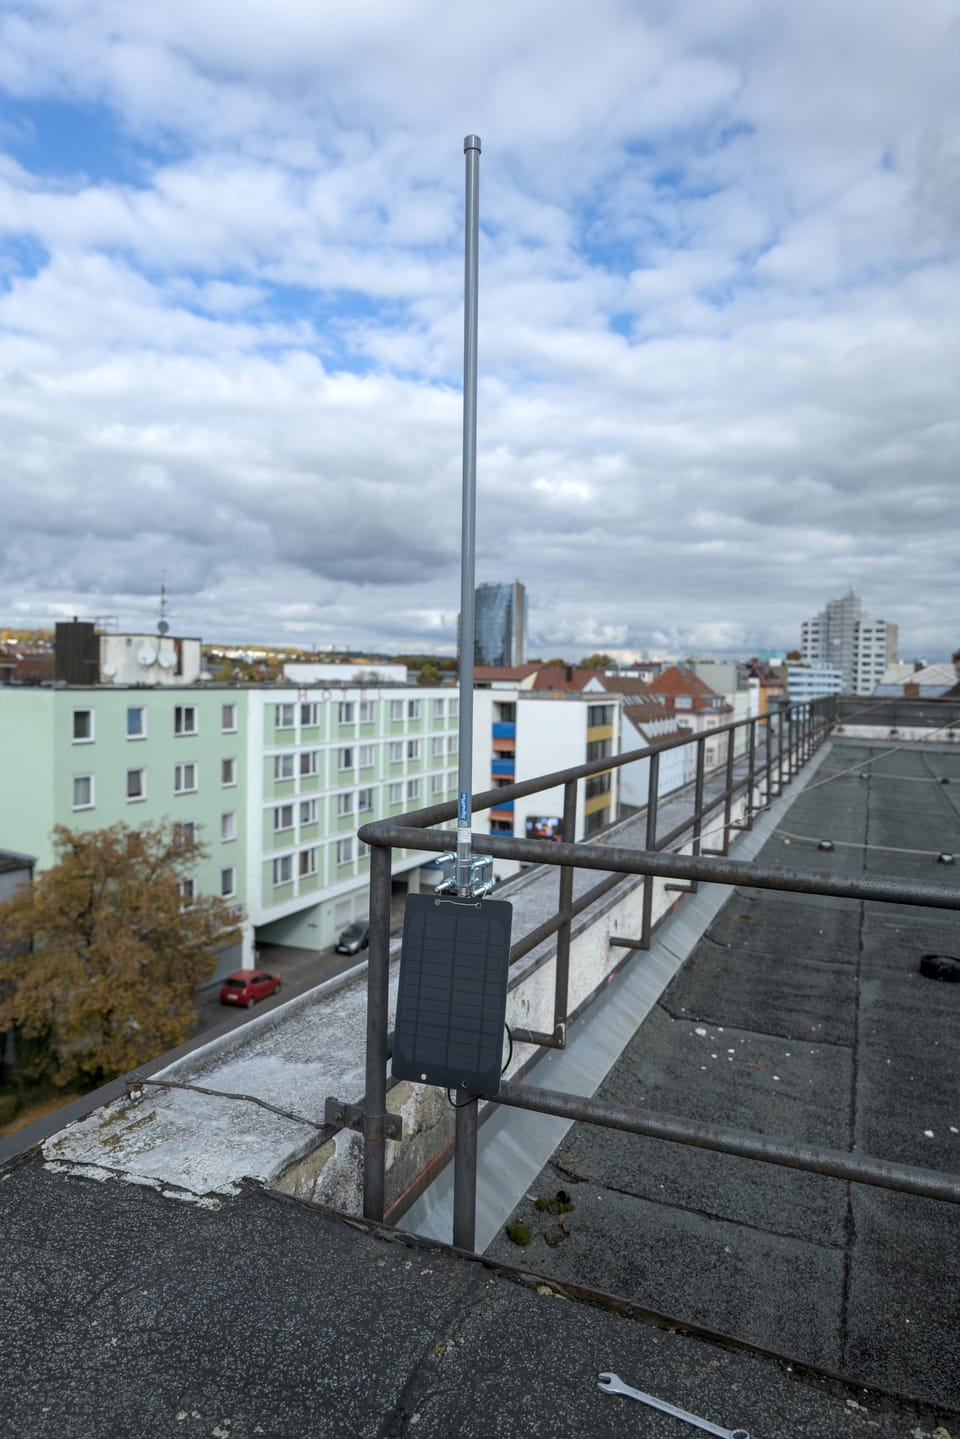
What to buy: A 5W or 10W monocrystalline panel. Monocrystalline outperforms polycrystalline in low-light conditions, exactly what you're dealing with in NEPA winter. Search "5W 12V monocrystalline solar panel" for $15–25. The 12V nominal rating is fine; your charge controller handles the voltage.
Panel angle: Point it south. Tilt at roughly your latitude, about 41° for the Scranton/Wilkes-Barre area, for year-round average output. Steepen to 50–55° for better winter performance when the sun is low. A flat panel in January captures 30–40% less energy than a tilted one.
On snow coverage: It happens. A steeper angle sheds snow faster. A dark-framed panel self-clears faster than a white-framed one. But you cannot fully engineer around a sustained snow burial, you can only have enough battery to outlast it. Size accordingly.
The Charge Controller
Do not use a bare TP4056 board for an outdoor solar deployment.
The TP4056 is a fine single-cell charger for bench use. For outdoor solar, it has two problems: it doesn't have MPPT, so it doesn't extract maximum power from the panel in low-light conditions, and most TP4056 boards have no low-temperature charge cutoff. If it's below freezing and the sun comes out, a bare TP4056 will charge your lithium cells below 0°C. That causes permanent capacity loss and eventual internal damage.
The RAK WisBlock base boards (RAK5005-O, RAK19007) have solar input pins and an on-board charge circuit designed for this use case. If you're using a WisBlock, use the solar input the way RAK designed it.
For other setups, the CN3791 is a solar charge controller IC with an NTC thermistor input for low-temperature cutoff. CN3791-based modules are available for $3–5 and are the right step up from a bare TP4056. If you want proper MPPT, look at the Voltaic Systems V15/V25 or the Adafruit Universal USB/DC Solar Charger, they cost more but handle panel voltage conversion properly.
The Enclosure: Keep It Simple, Keep It Sealed
No 3D printed cases for outdoor solar deployments. Even with PETG or ASA, layer adhesion and print tolerances make it genuinely difficult to guarantee a waterproof seal through NEPA's temperature cycling and sustained rain. A failed seal lets in moisture slowly, and moisture kills electronics slowly and then all at once. For a node you're going to mount somewhere inconvenient and not touch for months, use a purpose-built weatherproof enclosure.
The right pick for most builds: A polycarbonate IP67 junction box. The 120mm × 80mm × 55mm size fits a WisBlock base board, two 18650 cells in a holder, wiring, and a charge controller with room to spare. Search "IP67 polycarbonate enclosure 120x80". Hammond, Bud Industries, and no-name brands all make them for $10–15. The gasket seal is what matters, and they all use the same foam gasket.
For more rugged deployments: The Harbor Freight Apache 1800 or 2800 cases. O-ring sealed, latched, IP67-rated, and cheap enough that a bad outcome costs $30 instead of $130.
Use a light-colored or clear-lidded enclosure. A black junction box in direct summer sun can hit 70°C inside. That temperature degrades batteries and shortens the life of every component in the box. White or gray polycarbonate stays significantly cooler. If you end up with a dark enclosure, mount it in shade or wrap it in reflective tape.
Cable Entry: Get This Right or Get Wet
Two rules. Everything else is detail.
Rule 1: All cables enter from the bottom. Every cable penetration should be on the bottom face or the lower half of a side face. Water follows cables downward. If the cable enters from the top or side, water follows it into the gland. If it enters from the bottom, water drips off. Gravity is the cheapest waterproofing you have, use it.
Rule 2: Every cable gets a drip loop. Before entering the gland, the cable should make a downward U-shape, it comes down, curves below the gland entry point, then curves back up into the gland. Any water running down the cable hits the bottom of the loop and drips off rather than wicking into the fitting. This costs nothing and is the difference between a dry enclosure and one that slowly accumulates moisture over months.
Cable glands on every penetration. PG7 for small coax and thin cable; PG9 for USB and heavier wire. Tighten the compression nut until it grips the jacket firmly, then run a bead of silicone sealant around the outside where the gland meets the enclosure wall. A pack of 10 PG7 glands is $7 on Amazon. Buy them before you need them.
Fighting Humidity
Even a perfectly sealed enclosure sees humidity cycles in NEPA's climate. Temperature swings drive microscopic moisture migration through gaskets and seals over time. Warm air carrying moisture enters during the day; it condenses on the cold interior at night.
Silica gel desiccant packs inside the enclosure absorb that moisture before it reaches your board and battery terminals. Put two or three packets in when you seal the box. Check and replace them once a year when you service the node. Use indicating silica gel (blue or orange, changes color when saturated) so you can see at a glance whether they're still working when you open the box.
If the enclosure will see large temperature swings, a Gore-Tex vent plug (search "IP67 Gore-Tex vent plug M12") allows pressure equalization while blocking liquid water. They're $3–5 and are a standard part of any serious outdoor electronics enclosure. For a single node, the desiccant alone is usually enough, but if you're building something that'll run for years without being opened, the vent plug is cheap insurance.
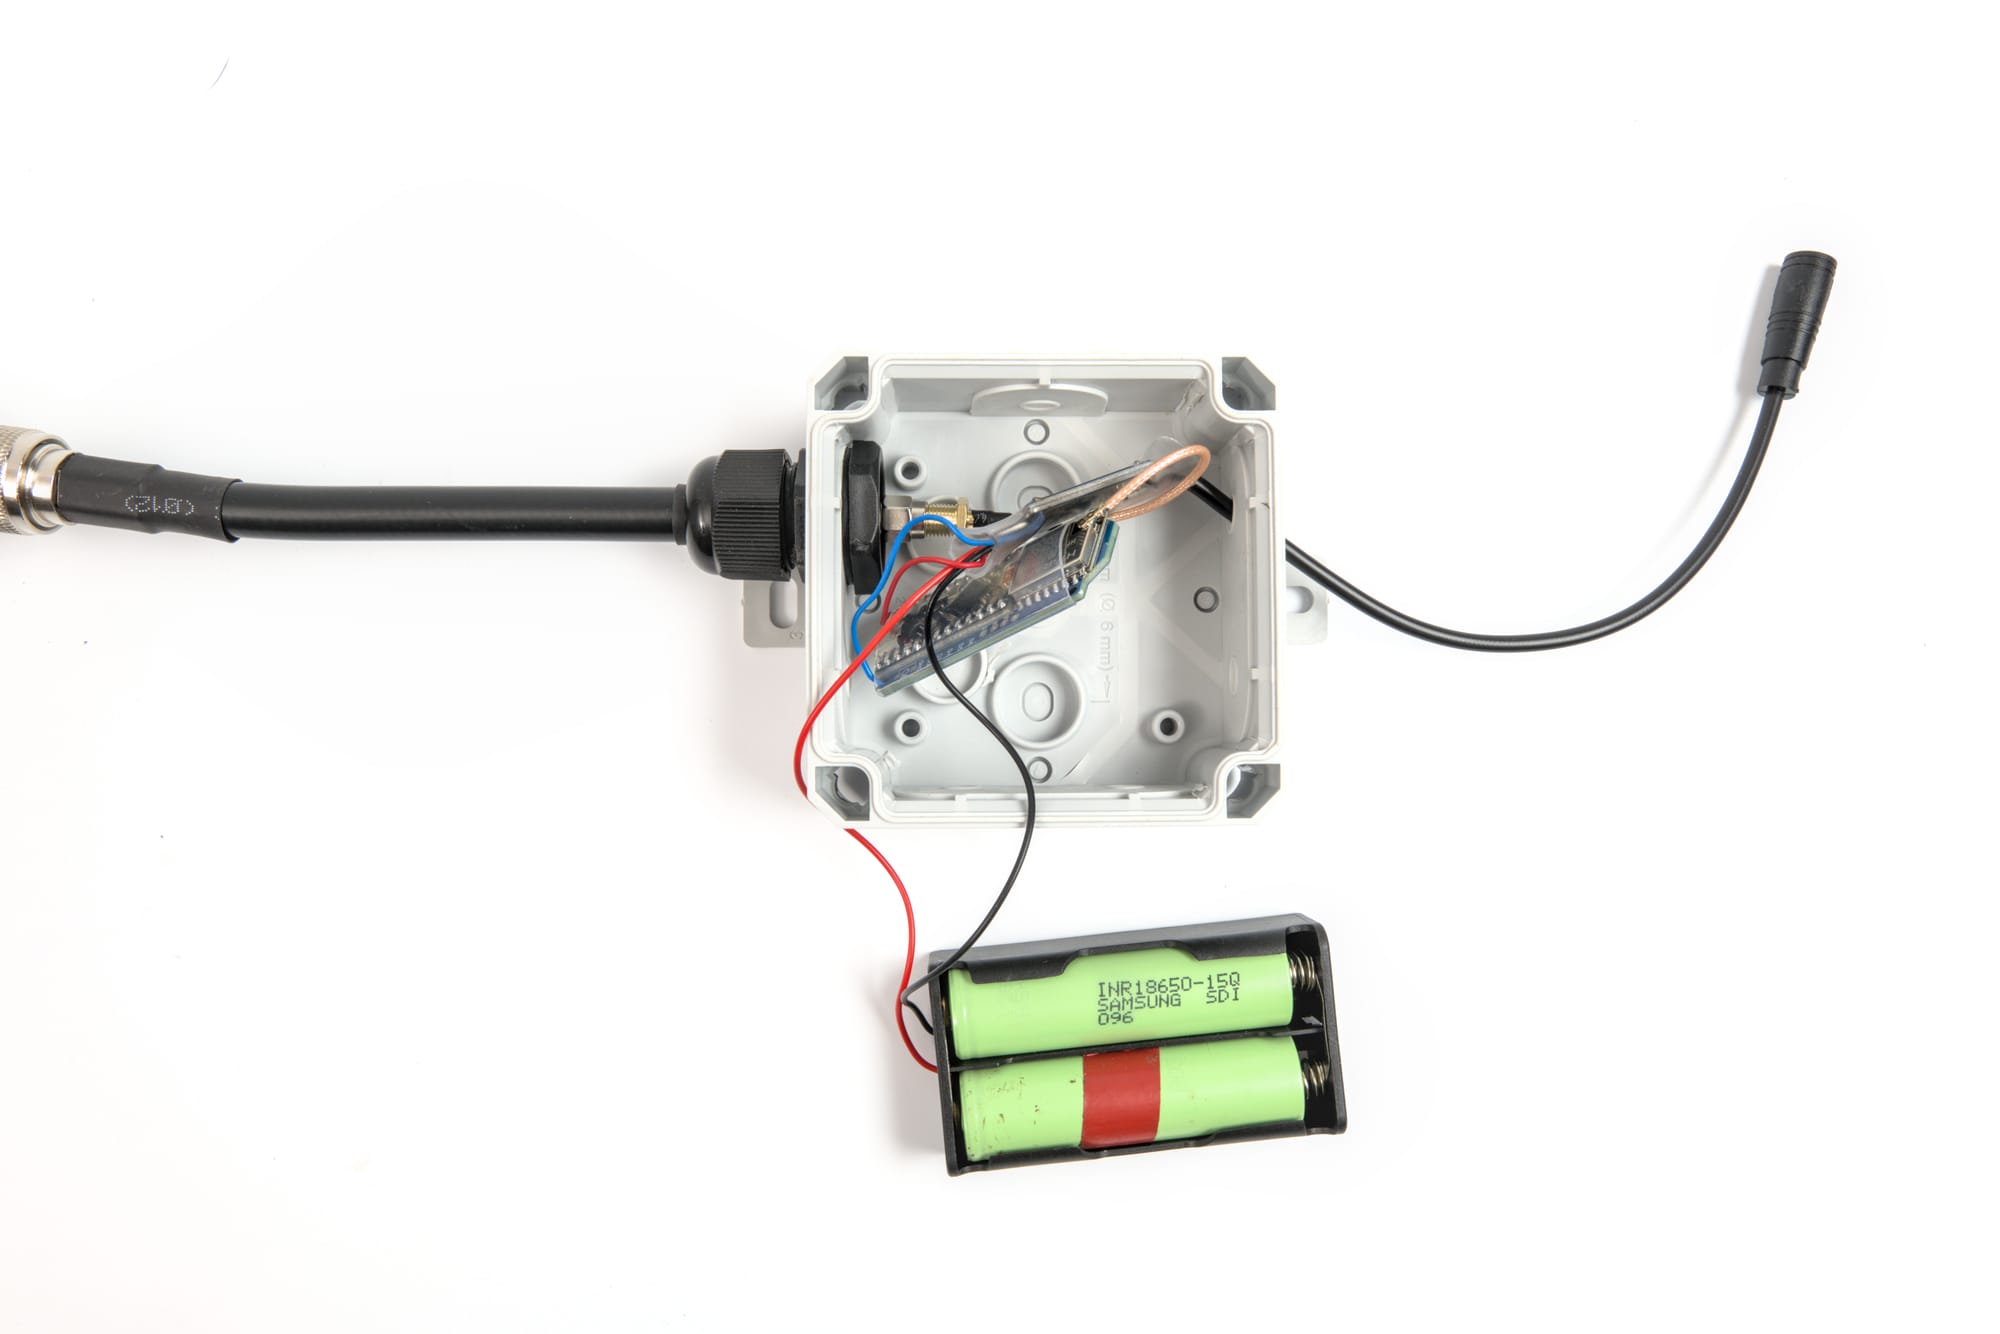
The Full Build
Parts list:
- RAK WisBlock base board (RAK5005-O or RAK19007) + RAK4631 core module
- 2× quality 18650 cells (Samsung 25R or equivalent) in a dual-cell holder
- 5W monocrystalline solar panel
- IP67 polycarbonate enclosure, 120mm × 80mm or larger, light-colored
- PG7 and PG9 cable glands (2–3 of each)
- Silica gel desiccant packets (indicating type)
- SMA female chassis mount + U.FL to SMA pigtail
- Self-amalgamating tape for the outdoor antenna connection
- Stainless hardware for mounting
Total cost: $70–100 depending on enclosure choice and whether you already have parts from previous builds.
The build:
- Mount the RAK4631 core module onto the WisBlock base board. Seat it fully, the board-to-board connectors need complete engagement.
- Install the 18650 cells in the holder. Connect to the WisBlock battery input. Observe polarity.
- Run the solar panel cable through a PG9 gland in the bottom of the enclosure, with a drip loop formed before the gland entry. Leave slack inside for a service loop. Connect to the WisBlock solar input terminals.
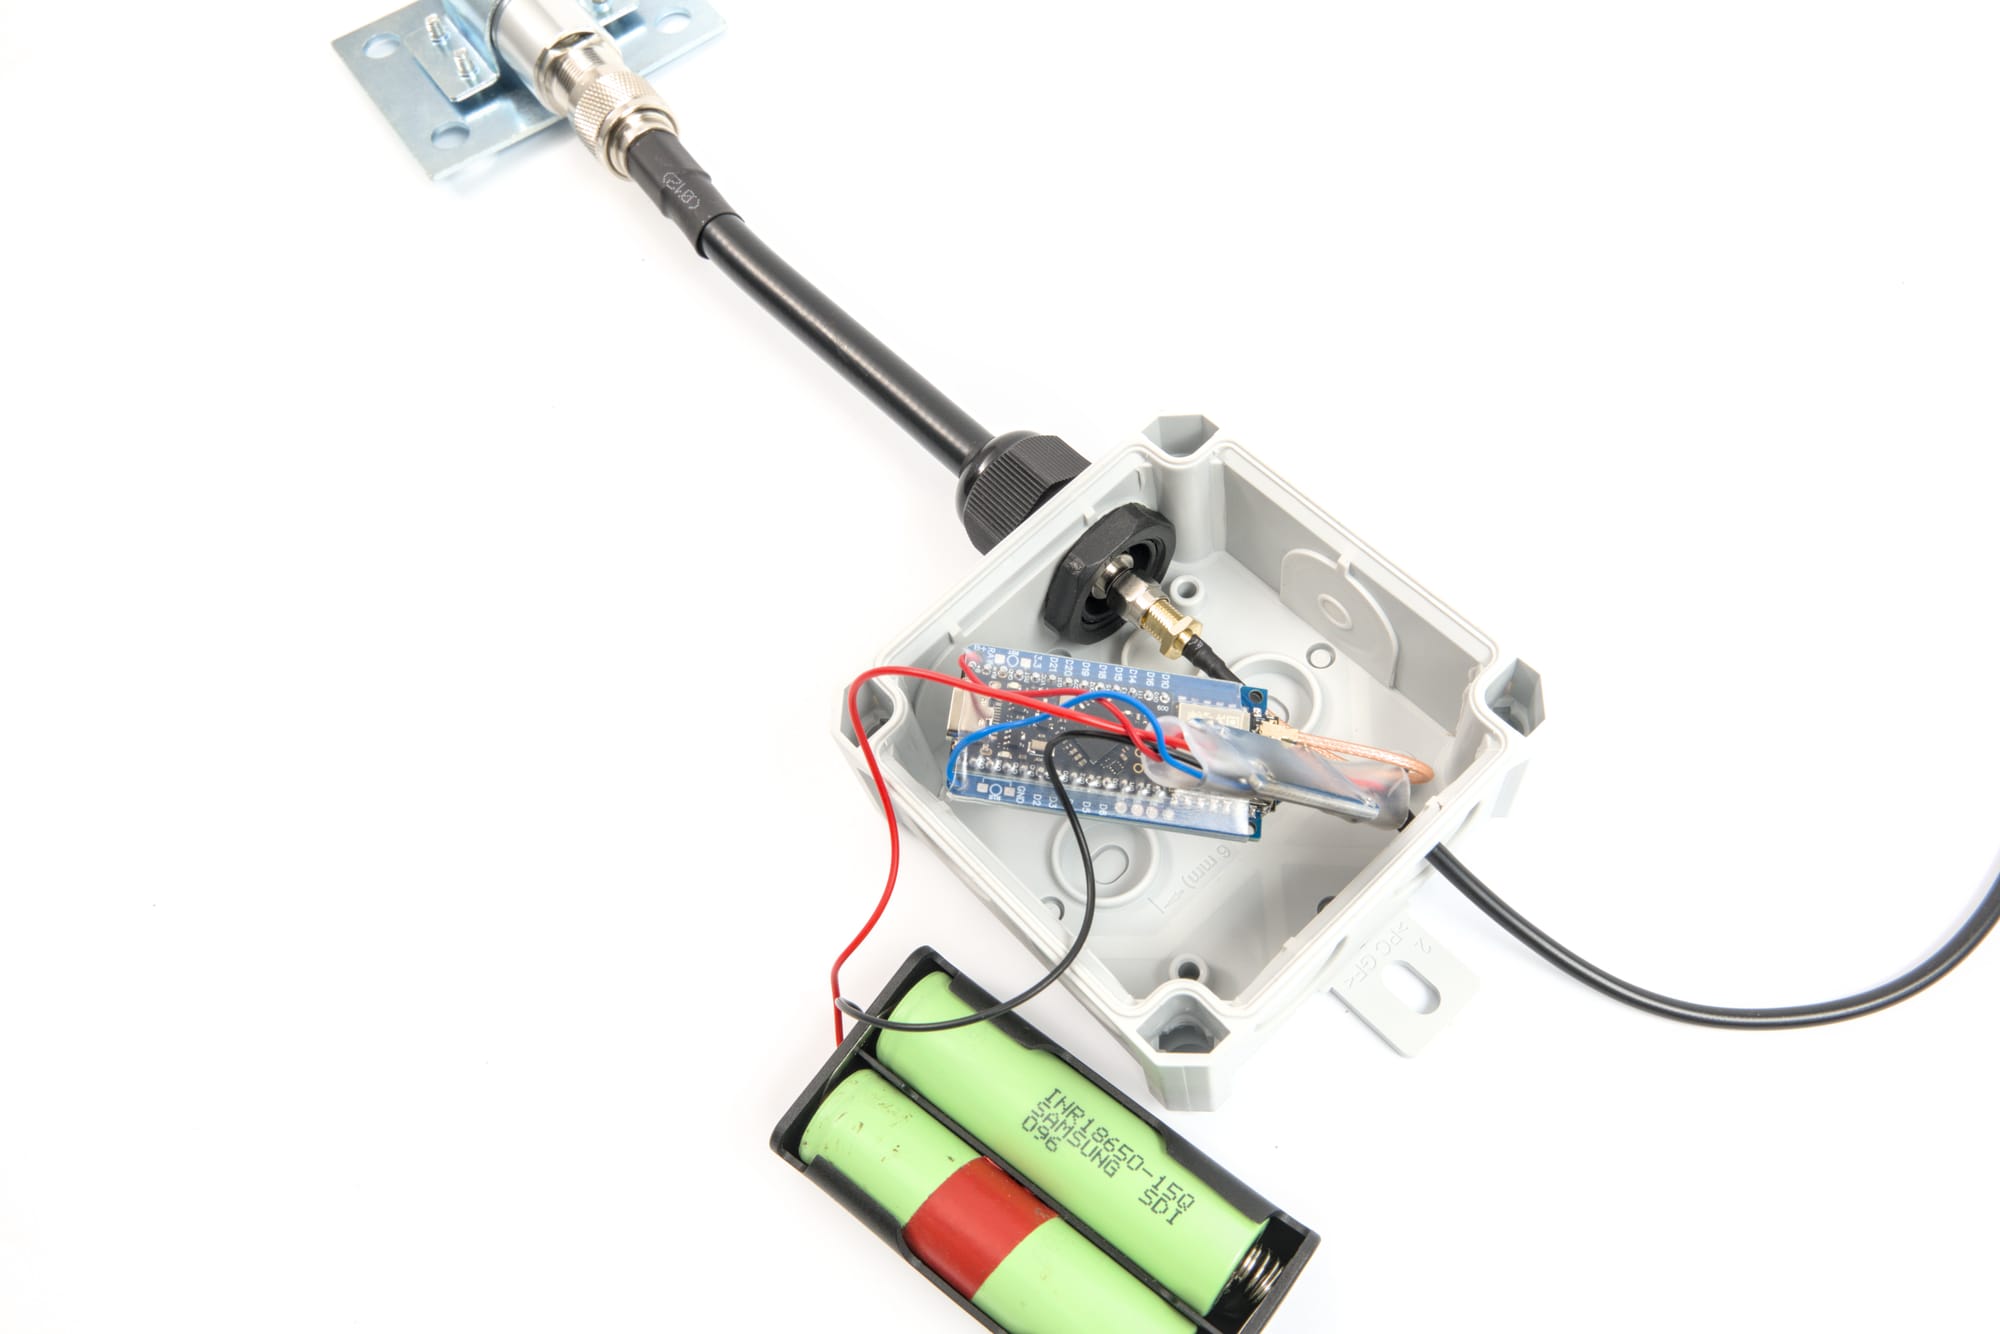
- Drill a 6.5mm hole for the SMA chassis mount on the enclosure wall. Thread it through, tighten the nut on the inside. Connect the U.FL pigtail from the RAK4631 to the chassis mount.
- Wrap the outside of the SMA chassis mount with self-amalgamating tape.
- Drop two or three desiccant packets into the enclosure.
- Verify the gasket is seated and close the lid.
- Mount the enclosure with all cable entries facing down.
- Mount the solar panel facing south at 41–50° tilt.
- Flash Meshtastic firmware via nRF Connect DFU. Configure the node. Enable power saving in Device Config → Power. Set the role to Router or Router Client as appropriate.
A Few Things That Will Save You Grief
Enable power saving in Meshtastic, this is not optional. The nRF52840 can drop to under 2 µA between transmissions. The two-week snow survival story depends on this setting being on. Without it, the math doesn't work and the battery story becomes a much shorter one.
Check your charge controller's temperature behavior before winter. Let the node run through a month of autumn weather, then open the enclosure and look at the battery terminals. Any frost damage or unexpected capacity drop means the controller is charging below freezing. Fix it before January.
Don't mount the panel directly above the enclosure. Snow slides off the panel and lands on whatever is below it. Mount the enclosure beside or below-and-offset from the panel, not in the direct fall line.
Give it a full week before you trust it. Watch the battery level in the Meshtastic app over the first week. If it's trending down with sun on the panel, something is wrong, check connections, check that the solar input is wired to the right terminals, check polarity. A week of observation is cheaper than a second trip up the ladder in February.
Label everything. Node name, install date, your callsign or contact info. Outdoor-rated label tape on the enclosure. When you're on a ladder in March trying to remember which node this is, you'll be glad it's there.
The mesh needs nodes that stay up. A USB-powered node on a windowsill is a node. A solar-powered node on a rooftop that runs through February without anyone touching it is infrastructure.
Put it somewhere high. Point the panel south. Let it run.
Share where you put it in the NEPAMesh Discord, we'll add it to the map.
Meshtastic is a registered trademark of Meshtastic LLC. No warranty is provided, use at your own risk. This post is not endorsed by or affiliated with Meshtastic LLC.